Overwhelmed by the idea of joining wood as a beginner? Don’t fret. With these quick tips, you’ll be on your way to creating sturdy, professional-looking wood projects in no time. Discover imperative techniques and best practices for joining wood, avoiding common mistakes that beginners often make. From choosing the right type of joinery to using the correct tools and materials, this guide will set you on the path to woodworking success. Get ready to tackle your next project with confidence!
Key Takeaways:
- Choose the right type of joint: Consider the type of project you are working on and choose a joint that is appropriate for the design and functionality.
- Use wood glue: Apply a generous amount of wood glue to ensure a strong and durable bond between the pieces of wood.
- Use clamps: Secure the pieces of wood together with clamps while the glue dries to prevent any movement and ensure a tight joint.
Types of Wood Joints
For beginners learning about woodworking, understanding the different types of wood joints is necessary. By knowing the various ways wood pieces can be joined together, you can create strong and visually appealing projects. There are several common wood joints to consider when starting out, each with its own unique characteristics and uses.
| Butt Joint | Miter Joint |
| Dovetail Joint | Halved Joint |
| Joint Name | Joint Name |
| Joint Name | Joint Name |
| Joint Name | Joint Name |
Overview of Common Wood Joints
On the journey to mastering woodworking, having a good grasp of the common wood joints is crucial. Whether you are working on a simple DIY project or a complex piece of furniture, understanding the basics of wood joinery will elevate the quality and durability of your work.
Choosing the Right Joint for Your Project
While initiateing on a woodworking project, it is vital to select the right joint that suits the design and function of your piece. Consider factors such as the strength required, aesthetics, and complexity of the joint. By choosing the appropriate joint, you can ensure the longevity and structural integrity of your creation.
Essential Tips for Joining Wood
While joining wood may seem daunting for beginners, there are some important tips to keep in mind to ensure a successful project. Here are some key points to remember:
- Prepare your wood and tools properly before starting a project.
- Measure and mark accurately to ensure precise cuts and joints.
- Use proper clamping and gluing techniques for a strong bond between pieces.
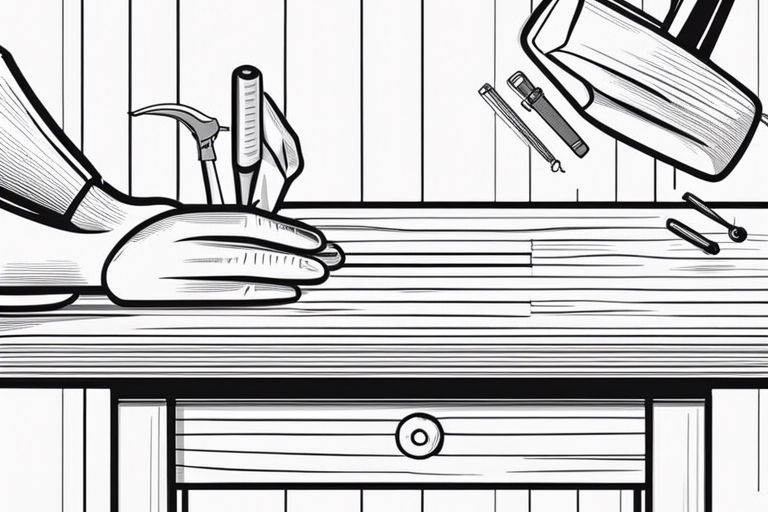
Preparing Your Wood and Tools
Assuming you have your wood and tools ready, proper preparation is important. Make sure your wood is flat, straight, and free of any defects. Ensure your tools are sharp and in good working condition to make clean cuts.
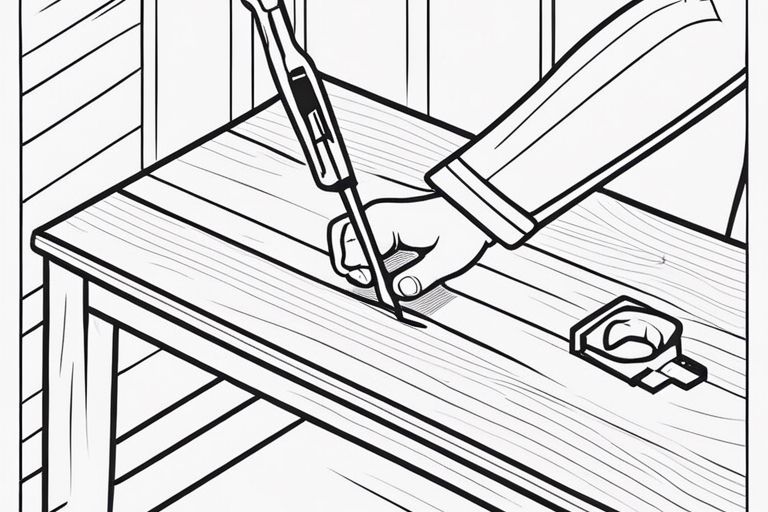
Measuring and Marking Accurately
Assuming accurate measurements are crucial for a successful project. Use a quality measuring tool and always double-check your markings before cutting. Accuracy at this stage will save you time and frustration later on.
With precise measurements and markings, you can ensure that your pieces fit together seamlessly, leading to a professional-looking finished product.
Clamping and Gluing Techniques
Techniques for clamping and gluing play a crucial role in the strength and durability of your joints. Make sure to apply even pressure when clamping to prevent gaps in the joint. Use a high-quality wood glue and follow the manufacturer’s instructions for the best results.
Joining wood through effective clamping and gluing techniques will result in strong and lasting connections between pieces, ensuring the longevity of your project.
Step-by-Step Guide to Joining Wood
Many beginners in woodworking often find the process of joining wood intimidating, but it doesn’t have to be! By learning some basic woodworking joints, you can create strong and beautiful wood projects. For more information on Basic Woodworking Joints, you can visit here.
| Mortise and Tenon Joint | Dado Joint |
| Mortise | An |
Mortise and Tenon Joint
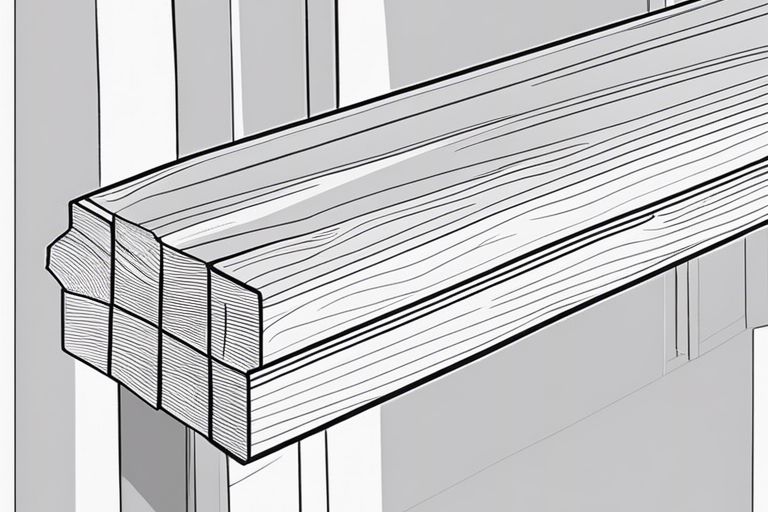
Mortise and tenon joints are a classic woodworking joint that is strong and reliable. The mortise is a hole or slot cut into the wood, and the tenon is a projection on the end of a piece of wood that fits into the mortise. This joint is commonly used in furniture making and cabinetry.
Dado Joint
An indispensable joint in woodworking, the dado joint involves cutting a groove across the grain of one piece of wood and fitting another piece into it. This joint is commonly used for attaching shelves to bookcases or cabinet sides, providing strong support.
Tenon
Dovetail Joint
Clearly, one of the most visually appealing joints in woodworking, the dovetail joint is known for its strength and decorative element. The unique interlocking design of the pins and tails makes this joint resistant to pulling forces, commonly used in drawer construction and high-quality furniture making.
Another benefit of the dovetail joint is that it does not require the use of glue to hold the pieces together, making it a popular choice for woodworkers who prefer traditional joinery methods.
Factors to Consider When Joining Wood
All factors must be taken into account when joining wood. Wood grain and direction, moisture content and humidity, as well as tool selection and maintenance play crucial roles in the success of your project. Any mistakes in these areas can lead to weak joints and a poor final result.
Wood Grain and Direction
You should always pay attention to the grain direction when joining wood. Improper alignment can result in weakened joints and possible splitting. Remember to consider the appearance of the grain for a more visually appealing outcome.
Moisture Content and Humidity
While working with wood, always consider the moisture content and the humidity of your workshop environment. Fluctuations can affect the size and shape of your wood pieces, leading to misaligned joints and issues in the long run.
Tool Selection and Maintenance
Now, when it comes to tools, choosing the right ones and maintaining them properly is vital for successful wood joining. For instance, dull blades can cause tearout and rough edges, while cheap tools may lead to inaccurate cuts.
Pros and Cons of Different Joining Methods
| Joining Method | Pros and Cons |
| Dovetail Joints | Strong and durable but require skill to create. |
| Biscuit Joints | Quick and easy but may not be as strong as other methods. |
| Pocket-Hole Joinery | Fast and versatile, but visible screws. |
| Mortise and Tenon Joints | Extremely strong but require precision and time. |
| Half-Lap Joints | Simple and sturdy but may not be as decorative. |
Strength and Durability
While different joining methods offer varying degrees of strength and durability, it is crucial to select the most suitable one for your project to ensure its longevity and stability.
Aesthetics and Visual Appeal
Aesthetics play a significant role in woodworking projects. The choice of joining method can impact the overall look of the final piece, with some methods offering hidden joints for a seamless finish, while others may leave visible hardware.
Time and Effort Required
Time and effort required for joining wood can vary significantly between different methods. Some techniques are quick and straightforward, while others demand meticulous precision and skill, which can prolong the project completion time.
Final Words
Drawing together all the quick tips on how to join wood for beginners, it’s clear that with the right tools, techniques, and patience, anyone can start creating their own woodworking projects. Whether you’re using nails, screws, glue, or dowels, remember to measure twice and cut once to ensure a seamless join. As you gain more experience, you’ll find your skills improving and your creations becoming more refined. So get out there, practice, and enjoy the rewarding process of joining wood.
FAQ
Q: What are some basic tools needed to join wood for beginners?
A: Some basic tools needed to join wood for beginners include a hammer, nails, screws, screwdriver, wood glue, clamps, and a saw.
Q: How can I join wood using nails?
A: To join wood using nails, align the pieces of wood together, use a hammer to insert the nail through the pieces, and hammer it in until it is secure.
Q: What is the best way to join wood using screws?
A: The best way to join wood using screws is to pre-drill holes into the wood pieces, align the pieces together, insert the screws into the holes, and use a screwdriver to secure them in place.
Q: Can I join wood without using any tools?
A: While it is possible to join wood without using tools by using wood glue, it is recommended to use some basic tools like clamps to ensure a secure and sturdy joint.
Q: How do I know which wood joining method to use for my project?
A: The wood joining method to use for your project will depend on factors like the type of wood you are using, the strength required for the joint, and the tools you have available. Research different methods and choose the one that best suits your project needs.