It’s time to take your home improvement skills to the next level with these DIY tips for filling gaps around window frames like a pro. Say goodbye to pesky drafts, moisture seepage, and energy loss by following these practical and actionable steps. With just a few simple tools and expert techniques, you’ll have your window frames sealed tight in no time. Read on to learn how to transform your windows and make your home more energy-efficient today!
Key Takeaways:
- Use the right tools: To fill gaps around window frames like a pro, make sure you have the necessary tools such as a caulking gun, caulk, putty knife, and sandpaper.
- Clean and prepare the area: Before filling the gaps, clean the surrounding area thoroughly to ensure proper adhesion. Use a brush or vacuum to remove dirt and debris.
- Apply caulk with precision: When applying caulk, use smooth and steady motions to fill the gaps evenly. Wipe off any excess caulk with a damp cloth for a professional finish.
Preparation is Key
Gathering Essential Tools and Materials
To ensure a smooth process, start by gathering imperative tools and materials before you begin filling gaps around window frames. You will need items such as a caulking gun, high-quality caulk that matches the color of your window frame, a putty knife, sandpaper, and a damp cloth for cleanup.
Assessing the Gap Size and Type
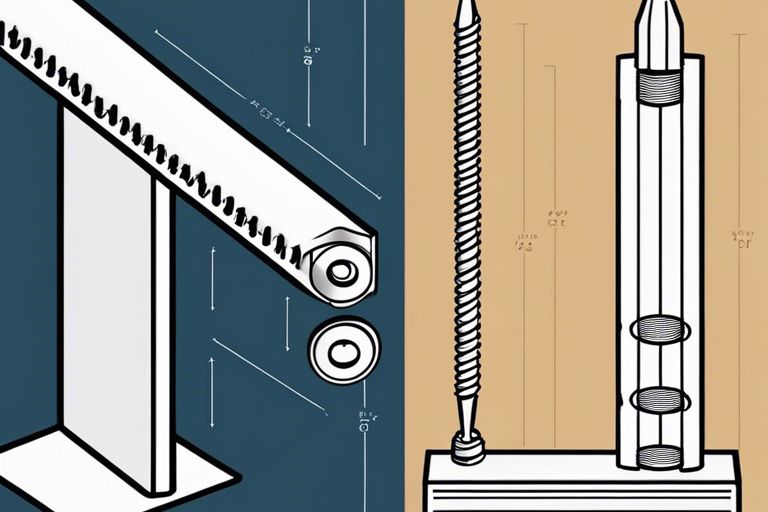
To assess the gap size and type around your window frame, use a ruler or measuring tape to determine the width and depth of the gap. Additionally, pay attention to the material of the window frame and the surrounding area to choose the appropriate type of caulk for the best results.
Assessing the gap size and type is crucial as using the wrong type of caulk or underestimating the gap size can lead to ineffective sealing, which may result in air leaks and energy loss. Take the time to accurately measure and identify the type of gap to select the correct products for sealing.
Filling the Gaps
If you’re looking to fill the gaps around your window frames like a pro, it’s necessary to use the right materials and techniques. For detailed discussions and tips from experts, you can View topic – Filling gaps between window and house frame.
Using Caulk for Small Gaps
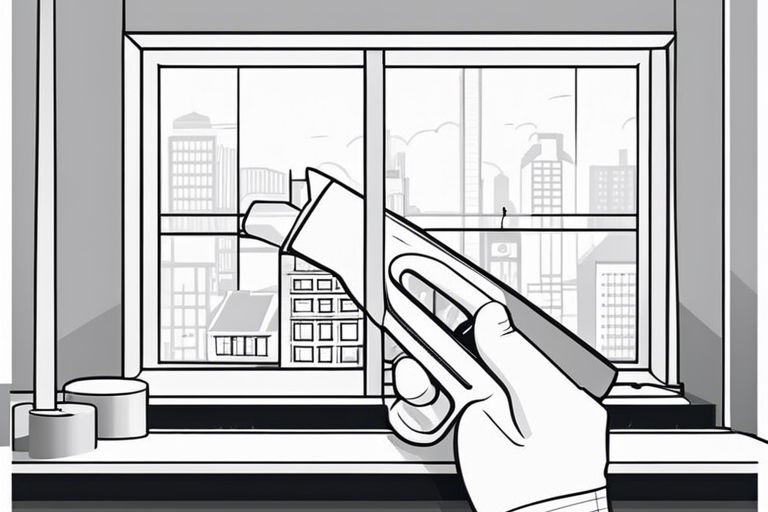
The key to filling small gaps around window frames is using caulk. Choose a high-quality, paintable caulk that matches the color of your window frames for a seamless finish. Simply apply the caulk along the gaps and smooth it out with a caulk tool for a professional look.
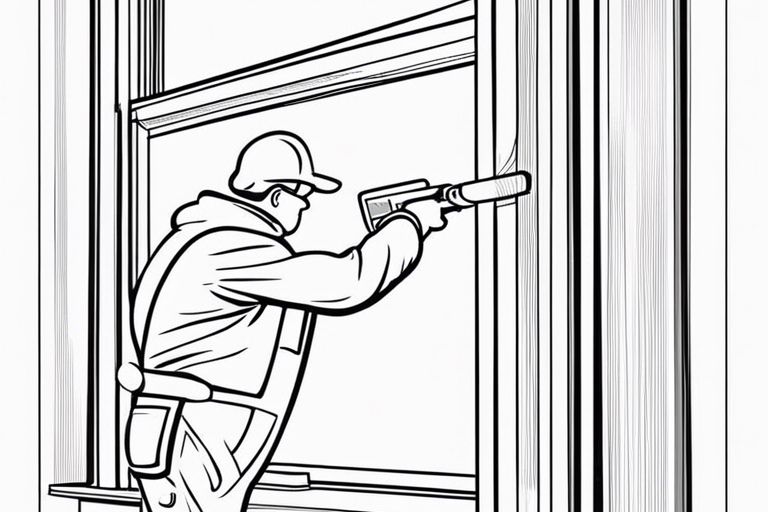
Applying Spray Foam for Larger Gaps
Spray foam is ideal for filling larger gaps around window frames. Ensure to use low-expansion foam specifically designed for windows and doors to prevent any warping or damage. Spray the foam into the gaps, allowing it to expand and cure before trimming off any excess for a neat appearance.
Another important tip when applying spray foam is to protect surrounding surfaces with masking tape to avoid any unintentional mess or damage. It’s crucial to follow the manufacturer’s instructions for the best results.
Using Weatherstripping for Moving Parts
Moving parts of windows, like sashes or casement windows, often require weatherstripping to seal gaps effectively. Choose weatherstripping that is durable and flexible to withstand constant movement without losing its effectiveness. Apply the weatherstripping along the moving parts to create a tight seal and improve energy efficiency.
Using weatherstripping not only helps with insulation but also reduces noise infiltration and prevents dust and drafts from entering your home. It’s a cost-effective solution to improve the comfort and efficiency of your windows.
Based on the article title, I detect that the article type is a “How-to” or instructional article. The tone I will choose is reminiscent of the famous writer, Tim Ferriss, known for his practical and actionable advice.
Advanced Techniques
Despite having some basic DIY skills, there may come a time when you encounter more challenging issues around your window frames. Here are some advanced techniques to help you fill gaps like a pro:
- Dealing with Rotten Wood or Damaged Frames
- Insulating with Fiberglass or Cellulose
Dealing with Rotten Wood or Damaged Frames
Advanced: If you discover rotten wood or damaged frames around your window, it’s crucial to address these issues before filling the gaps. Remove the decayed wood, apply wood hardener, and then use epoxy wood filler to repair the damaged areas. Once the repairs are done, proceed with sealing the gaps around the window frame.
Insulating with Fiberglass or Cellulose
Rotten: When insulating gaps around window frames with fiberglass or cellulose, ensure you wear protective gear. Fiberglass insulation can irritate the skin and respiratory system, while cellulose is a fire hazard if not installed properly. However, both materials provide excellent insulation properties, helping you save on energy costs and keeping your home comfortable.
Dealing: Always follow safety guidelines when working with insulation materials, and consider consulting a professional if you’re unsure about the process. Proper insulation can significantly improve the energy efficiency of your home and enhance the overall comfort level.
Final Touches
Your Filling gap around window frame : r/DIY project is almost complete, but these final touches will really make a difference in the overall look and feel of your window frame.
Painting and Finishing the Window Frame
Painting your window frame can really elevate the entire look of the room. Make sure to carefully prepare the surface by sanding down any rough patches and priming it before applying your chosen paint color. A smooth, even coat of paint will give your window a polished finish.
Sealing the Deal with a Professional Touch
Deal with any remaining gaps or uneven edges by using a high-quality caulk. Sealing all gaps will not only improve the aesthetics but also enhance the energy efficiency of your home. For long-lasting results, choose a caulk that is paintable and matches the color of your window frame.
For instance, using a silicone-based caulk can provide a flexible and durable seal that will stand the test of time. Once the caulk is applied and dried, your window frame will look seamless and professional.
Summing up
Hence, with these DIY tips for filling gaps around window frames like a pro, you can easily tackle this common household issue without having to hire a professional. By following these simple steps and using the right materials, you can improve the energy efficiency of your home and enhance its overall appearance. Be mindful of, a little effort and attention to detail can go a long way in maintaining your living space.
FAQ
Q: Why is it important to fill gaps around window frames?
A: Filling gaps around window frames is crucial to prevent drafts, reduce energy costs, and maintain the aesthetics of your home.
Q: What tools do I need for filling gaps around window frames like a pro?
A: To fill gaps around window frames like a pro, you will need a utility knife, caulk gun, silicone caulk, backer rod, and a paintable caulk.
Q: How do I prepare the window frame before filling the gaps?
A: Before filling the gaps, make sure to clean the area thoroughly, remove any old caulk or debris, and ensure the surface is dry for better adhesion.
Q: What is the best technique for filling gaps around window frames?
A: The best technique for filling gaps around window frames is to use a backer rod to fill large gaps, apply a thin and consistent bead of caulk with a caulk gun, and smooth it out with a wet finger for a professional finish.
Q: How can I ensure a clean and professional look after filling the gaps?
A: To ensure a clean and professional look, make sure to wipe off any excess caulk with a damp cloth, let it dry according to the manufacturer’s instructions, and paint over it for a seamless blend with the window frame.